

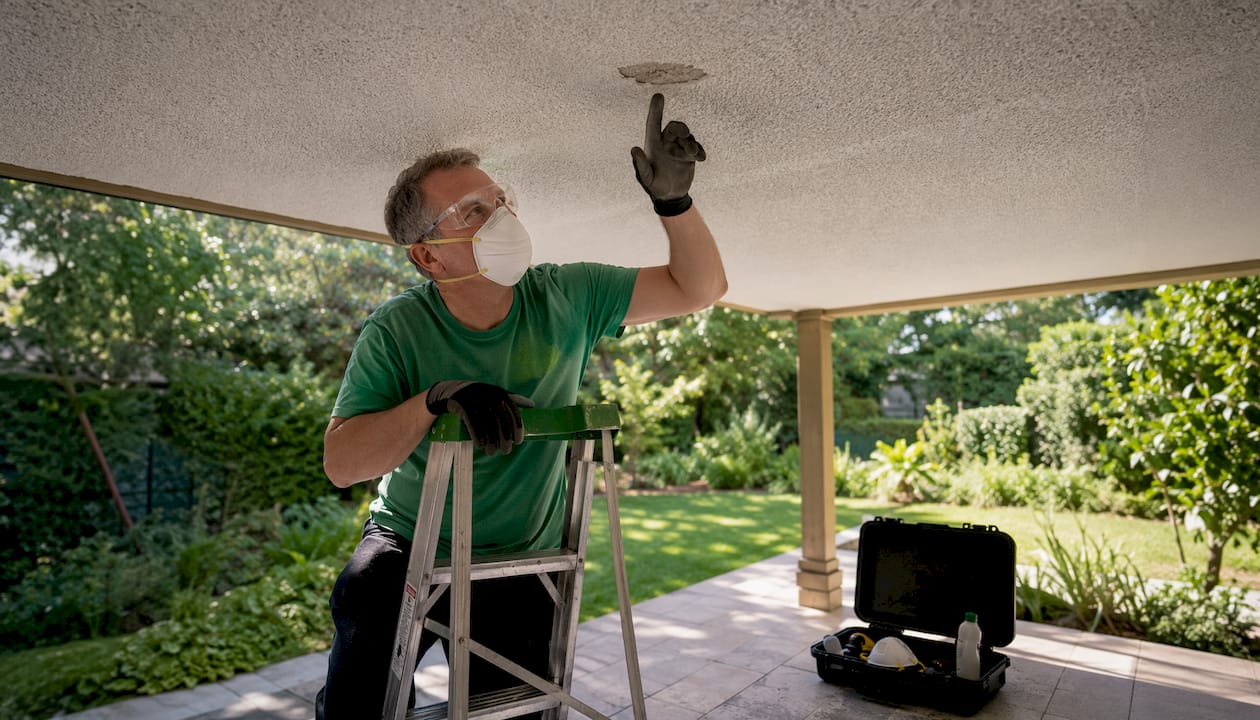
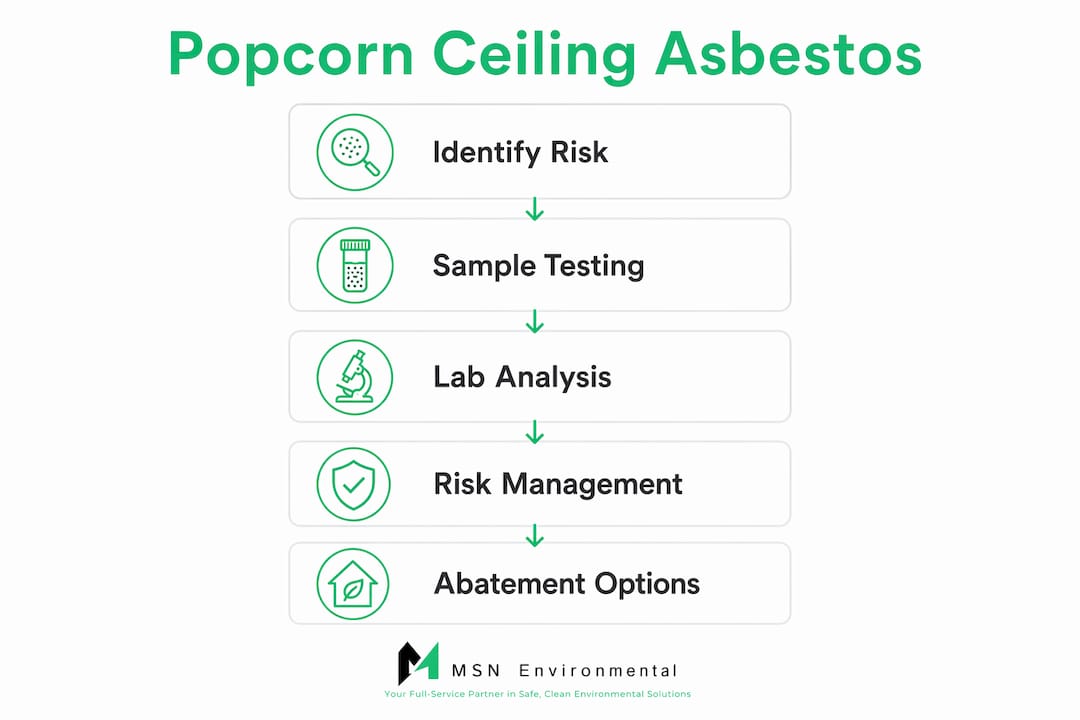
Yes, popcorn ceilings can contain asbestos. If your home was built or renovated before the mid-1980s, there is a real chance the textured ceiling coating includes chrysotile asbestos fibres. The single most important thing you can do right now: do not scrape, sand, drill, or disturb the surface in any way until you have lab-confirmed results. Visual inspection alone cannot confirm or rule out asbestos — only a bulk sample analysed by an accredited laboratory can do that.
Your immediate priorities:
-
Stop any work on or near the ceiling.
-
Determine your home’s construction date. Pre-1978 texture is treated as presumed asbestos-containing material (ACM); 1978–1986 is a transition window that still warrants testing.
-
Arrange bulk sampling through a DIY mail-in kit or a licensed inspector before any renovation begins.
-
Contact an accredited testing lab or a licensed abatement contractor such as MSN Environmental for sampling and professional guidance.
If asbestos is confirmed, your options in order of disruption:
-
Leave it in place if the ceiling is intact and undisturbed.
-
Encapsulate (cover) it with a new ceiling layer or sealant.
-
Hire a licensed abatement contractor for full removal.
This guide walks through each of those steps in detail, with Canadian cost ranges, regulatory context, and the exact documents you should demand from any contractor.
Table of Contents
-
Does your popcorn ceiling have asbestos? What you can and cannot tell visually
-
How to test safely: bulk sampling, lab analysis, and air testing
-
MSN Environmental: licensed testing and abatement across Ontario
When and why was asbestos used in popcorn ceilings?
Spray-on textured ceilings, commonly called “popcorn” or “acoustic” ceilings, were popular in Canadian residential construction for several decades mid-20th century. Asbestos was added to the texture mix because it was cheap, fire-resistant, and gave the coating its characteristic body. Chrysotile (white asbestos) was the dominant fibre type in residential products, typically present at varying concentrations by weight in the dry texture material.
The U.S. Consumer Product Safety Commission banned asbestos in patching compounds and artificial emberizing materials in 1977, and Canadian manufacturers followed a similar market transition. However, leftover inventory stayed on shelves and in contractor supply rooms well into the mid-1980s. That transition window is why pre-1978 ceilings are treated as presumed ACM, while ceilings installed after 1978 but before the late 1980s generally warrant testing.
Factors that change your probability — but not your need to test:
-
Construction date: Pre-1978 is high-probability; 1978–1986 is moderate; post-1986 is low but not zero.
-
Renovation history: A ceiling retextured during a 1970s renovation may contain asbestos even in a newer home.
-
Product labels or receipts: Original packaging occasionally survives in attics or renovation files and can confirm or rule out asbestos-containing products.
-
Regional supply patterns: Some Canadian regions used certain texture products longer than others.
None of those factors replace lab testing. They help you prioritise how urgently to arrange it.
Does your popcorn ceiling have asbestos? What you can and cannot tell visually
The short answer: you cannot tell by looking. The nubbly, granular appearance of popcorn texture, the fine aggregate, and the chalky finish are all consistent with both asbestos-containing and asbestos-free products. Colour, thickness, and age of paint layers add no diagnostic value.
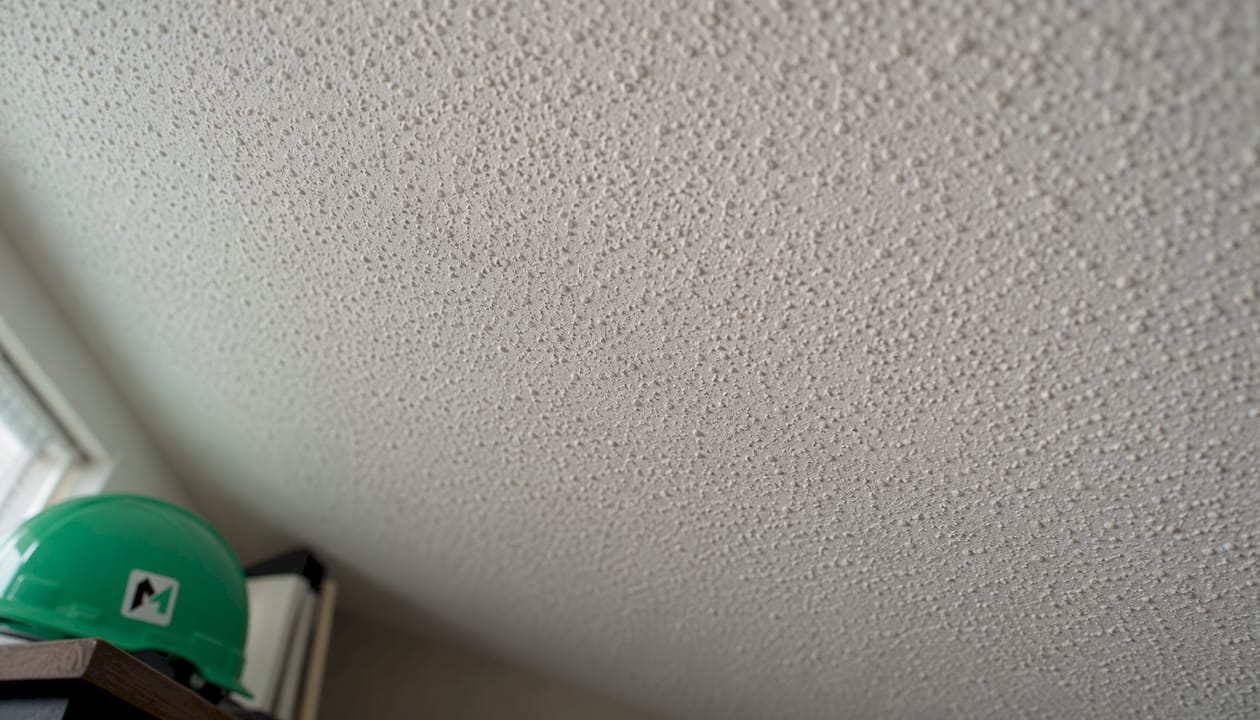
That said, a safe visual assessment can raise or lower your suspicion level and help you decide how quickly to act.
On-site visual checklist (do not touch or disturb the surface):
-
Note the home’s construction date from building permits, tax records, or the original listing.
-
Look for water stains, sagging, or flaking. Damaged or friable texture releases fibres more readily and moves the decision toward urgent professional assessment.
-
Check whether the ceiling has been painted. Paint can seal the surface and reduce fibre release from an intact ceiling, but it also makes safe wet-removal much harder later.
-
Look for any areas where the texture has already been scraped, drilled, or disturbed. Those spots are the highest-risk zones for existing fibre release.
-
Note any recent renovation activity nearby — a new light fixture, a smoke detector swap, or a ceiling fan installation may have disturbed the texture without anyone realizing it.
Pro Tip: If you suspect the ceiling has been painted over, try pressing a damp cloth gently against an inconspicuous corner. If water beads off rather than absorbing, paint has sealed the surface — do not attempt DIY removal under any circumstances, as you cannot wet the material safely.
Even a minor scrape can release microscopic asbestos fibres from friable popcorn texture. A visual check is useful for planning; it is never a substitute for sampling.
How to test safely: bulk sampling, lab analysis, and air testing
Testing is straightforward when done correctly. The goal is to collect a small sample of the texture material without creating unnecessary dust, then have it analysed by an accredited laboratory.
The bulk sampling process
-
Wet the area first. Mist the spot lightly with water containing a few drops of dish soap. This suppresses fibre release during collection.
-
Use a small, sealable container. A zip-lock bag or a screw-top sample jar works. Wear disposable gloves and an N95 respirator minimum.
-
Collect through all layers. Sampling only the surface layer can miss an underlying asbestos-containing coat. Scrape gently through the full depth of the texture.
-
Seal and label immediately. Note the room, location, and date on the container.
-
Wet-wipe the area and bag all materials. Dispose of wipes and gloves in a sealed plastic bag.
-
Complete the chain-of-custody form provided by the lab before shipping.
What the lab does with your sample
Laboratories use polarised light microscopy (PLM) for routine bulk analysis. PLM identifies fibre type and estimates concentration as a percentage by weight. The regulatory threshold in Canada defines a cut-off asbestos concentration by weight for classification as regulated ACM. Materials reported below 1% can still release fibres when disturbed, and many abatement teams treat any detectable asbestos as a hazard when planning containment.
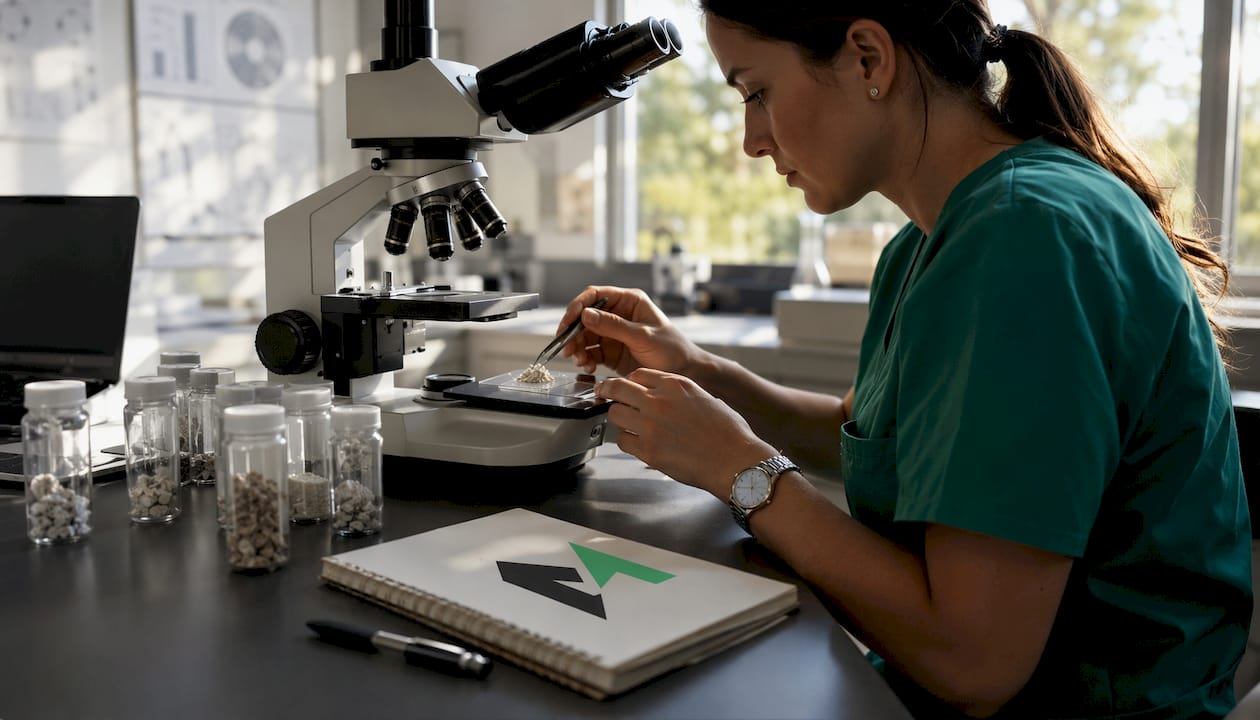
When PLM returns a non-detect or borderline result and you have strong reason to suspect asbestos (pre-1978 construction, visible fibre bundles), order transmission electron microscopy (TEM) for confirmation. TEM resolves low-concentration uncertainties that PLM can miss.
Air sampling is a separate test used after abatement to confirm that airborne fibre levels have returned to background. It is not a substitute for bulk sampling before work begins.
Cost and timing snapshot:
- DIY mail-in test kits typically cost $25–$50 per sample, suitable for a preliminary screen. Professional inspection and sampling range from $300–$600 and provide documentation valid for renovation permits and real estate disclosures. Lab turnaround times vary, with options for standard and rush processing.
For renovation or real estate purposes, use a provincially accredited or ISO-equivalent laboratory and keep the chain-of-custody documentation with the report.
If asbestos is confirmed: leave it, cover it, or remove it?
Confirmed asbestos does not automatically mean immediate removal. The right choice depends on the ceiling’s condition, your renovation plans, and your risk tolerance.
| Option | Best when | Approximate cost | Key limitation |
|---|---|---|---|
| Leave in place | Ceiling is intact, no planned disturbance | No direct cost aside from periodic inspection | Must monitor; any future work triggers abatement |
| Encapsulation | Ceiling is stable; renovation not planned soon | Typically about $1–$3 per square foot | Does not eliminate asbestos; paint seal can complicate future removal |
| Full removal | Damage, water staining, or renovation planned | Usually $1,500–$4,500 for a single-family home (small area) up to $12,000 + for complete house removal | Highest cost and disruption; requires licensed contractor |
Leaving intact, non-friable asbestos in place is often the safest and least costly option because fibres are hazardous only when airborne. If the ceiling is undamaged and you have no plans to renovate, a documented “manage in place” decision with scheduled annual inspections is entirely reasonable.
Encapsulation involves either applying a penetrating sealant directly to the texture or installing a new ceiling layer (drywall or drop ceiling) over the existing surface. It is faster and cheaper than removal, but it does not eliminate the asbestos. Any future renovation that cuts through the new layer will still require abatement.
Full removal is the right call when the ceiling is damaged, water-stained, sagging, or when a renovation will disturb it. It requires a licensed abatement contractor, proper containment, and post-work clearance air testing.
Realistic Canadian costs and timelines
Budget planning before you call contractors prevents sticker shock and helps you spot lowball quotes that skip critical steps.
Cost snapshots for Ontario homeowners vary by service type, from low-cost DIY kits, through moderate professional sampling fees, to higher per-square-foot encapsulation and substantial full abatement costs for typical single-family homes. Complex jobs tend to cost more.
| Service | Typical Canadian range | Typical timeline |
|---|---|---|
| DIY bulk sample kit | $25–$50 per sample | Several business days turnaround |
| Professional sampling + PLM lab | $300–$600 | Several business days turnaround |
| Encapsulation (per sq ft) | $1–$3 per square foot | Few days on site |
| Full abatement (single-family home) | $1,500–$4,500 for small area & up to $12,000 + for complete house removal | Multiple days on site plus clearance testing |
| Post-abatement clearance air test | Cost varies | Up to a few days for results |
Provincial differences matter. Ontario’s regulations under the Occupational Health and Safety Act and Regulation 278/05 set specific notification and licensing requirements for asbestos work. British Columbia, Alberta, and Quebec each have their own frameworks. Always confirm the rules that apply in your province before work begins.
Multi-layer ceilings add cost and time. When renovation history is unclear, inspectors sample through the full depth of the material, and discovering an additional asbestos-containing layer mid-job can require revised work plans and additional disposal runs.
What a licensed asbestos abatement job looks like in Canada
Knowing the steps a contractor should follow lets you verify that the work is being done correctly and protects you if something goes wrong.
The professional abatement sequence
-
Pre-work inspection and sampling. Confirm the scope and fibre concentration before mobilizing.
-
Regulatory notification. In Ontario, Type 3 asbestos work requires advance notice to the Ministry of Labour, Immigration, Training and Skills Development. Confirm the notification requirement for your province.
-
Site containment. Seal the work area with polyethylene sheeting, establish a decontamination unit (clean room, shower room, equipment room), and post warning signs.
-
Negative air pressure. Run HEPA-filtered negative air machines to prevent fibres from migrating to adjacent spaces.
-
Wet removal. Wet the texture thoroughly with a detergent solution before scraping to suppress fibre release. HEPA vacuums collect residual material.
-
Double-bag and label all waste. Asbestos waste goes into labelled, sealed polyethylene bags, then into a second bag. No asbestos debris goes into regular household trash.
-
Transport to an approved disposal facility. The contractor must provide a waste manifest confirming the material reached a licensed facility.
-
Clearance air testing. An independent air hygienist collects air samples after cleanup and before containment is removed. Results must meet provincial clearance criteria before the space is re-occupied.
Documents to demand from your contractor:
-
Bulk sampling reports and chain-of-custody forms
-
Worker training certificates (asbestos abatement training per provincial standard)
-
WSIB clearance certificate or equivalent provincial workers’ compensation coverage
-
Proof of liability insurance
-
Waste manifests confirming disposal at a licensed facility
-
Written clearance air test report from an independent lab
Provincial occupational health regulations and Health Canada guidance both apply to asbestos abatement in Canada. The specific notification thresholds, licensing requirements, and clearance criteria vary by province. Confirm the rules with your provincial Ministry of Labour or equivalent before any Type 2 or Type 3 work begins.
What not to do: the actions that create real exposure risk
Most asbestos exposure incidents in residential settings happen because someone did something quick and seemingly harmless. These are the specific actions to avoid.
Never do any of the following:
-
Dry-scrape or dry-sand the ceiling texture, even a small test patch.
-
Use a power sander, drill, or rotary tool near suspect texture.
-
Sweep or dry-vacuum debris from a disturbed ceiling.
-
Use an ordinary dust mask or surgical mask. These do not filter asbestos fibres.
-
Bag ceiling debris in regular garbage bags and put it in the bin.
-
Attempt removal on a painted ceiling without confirming you can wet through the paint layer.
The danger with quick DIY checks is that even a small scrape releases microscopic fibres that settle on surfaces throughout the room and remain there long after the visible dust clears. A single uncontained disturbance can contaminate furniture, HVAC ducts, and clothing, turning a manageable situation into a costly remediation project.
Pro Tip: There is no universally safe short-term exposure level for asbestos. Cumulative exposure is what drives disease risk, and professional containment is the only way to keep a removal event from adding to that cumulative load. A cheap DIY attempt that releases fibres costs far more to remediate than the abatement job would have.
Painted ceilings deserve a specific warning. Paint can trap fibres in an intact ceiling, which sounds reassuring, but it also prevents the wetting that makes safe removal possible. If you cannot wet through the paint, do not attempt DIY removal.
How to choose a qualified abatement contractor in Canada
The asbestos abatement industry has no shortage of contractors willing to work cheaply and cut corners. Here is how to tell the difference.
Non-negotiable trust signals:
-
Provincial licence or registration for asbestos abatement work (required in Ontario, BC, Alberta, and most other provinces for Type 2/3 work).
-
Written proof of worker training certificates in asbestos removal, per provincial occupational health standards.
-
Current WSIB clearance certificate (Ontario) or equivalent provincial workers’ compensation coverage.
-
Liability insurance certificate naming your property.
-
Written method statement describing containment, removal, disposal, and clearance testing procedures.
-
Waste disposal manifests from previous projects, available on request.
Questions to ask before signing anything:
-
Will you collect bulk samples before work begins, or are you quoting based on visual assessment only?
-
Who conducts the clearance air test, and is it an independent party from the removal crew?
-
Can you provide references from similar residential projects in this province?
-
What is your contingency plan if additional asbestos-containing layers are discovered mid-job?
-
What does the written contract say about scope changes and cost overruns?
Red flags that should end the conversation:
-
A quote significantly lower than others, with no mention of containment or clearance testing.
-
Reluctance to provide insurance certificates or WSIB documentation.
-
Offering to “just scrape it off quickly” without a written work plan.
-
No mention of post-work air testing or clearance documentation.
-
Pressure to start immediately without a signed contract.
For licensed asbestos abatement services in Ontario, MSN Environmental provides written method statements, WSIB coverage, and independent clearance testing as standard components of every project.
Clearance testing and the records you need to keep
A completed abatement job is not finished until a clearance air test confirms the space is safe. This step is often skipped by contractors trying to move quickly, and homeowners who accept verbal assurances instead of written reports pay for it later.
What clearance testing involves:
-
An independent air hygienist (not the removal crew) collects air samples from the work area after cleanup and before containment is removed.
-
Samples are analysed by an accredited laboratory using phase contrast microscopy (PCM) or TEM, depending on provincial requirements.
-
The lab issues a written clearance report stating whether fibre counts meet the applicable provincial threshold.
-
Only after a passing clearance report should containment be removed and the space re-occupied.
Documents to retain permanently:
-
Original bulk sampling reports and chain-of-custody forms
-
Contractor’s worker training certificates
-
WSIB certificate and liability insurance certificate
-
Waste manifests confirming disposal at a licensed facility
-
Final clearance air test report with lab accreditation details
Store these in your home file alongside your building permits and title documents. They are required disclosure for real estate transactions in most provinces, and any future contractor doing renovation work will need them to plan safely. A robust pre-renovation plan that documents chain-of-custody and stores lab reports in the home file protects every future owner of the property.
Interim risk management before abatement is scheduled
If you have confirmed or suspect asbestos in your ceiling and abatement is weeks away, these steps reduce your exposure risk in the meantime.
Step 1: Identify and mark disturbed areas. Any spot where the texture is cracked, flaking, or has been drilled or scraped is a fibre-release point. Mark these with painter’s tape so no one accidentally touches them.
Step 2: Restrict access. Keep children and pets out of rooms with damaged texture. Asbestos fibres settle on floors and soft furnishings and can be re-suspended by foot traffic or play.
Step 3: Do not run forced-air HVAC through the affected space. If the ceiling is damaged, running the furnace or air conditioning can draw fibres into the duct system and distribute them through the house.
Step 4: Do not attempt temporary repairs. Pressing tape or patching compound onto damaged texture disturbs it further. Leave it alone.
Step 5: Minimise vibration. Slamming doors, heavy foot traffic on an upper floor, and even loud music can vibrate a fragile ceiling enough to dislodge fibres. This sounds extreme, but it matters for severely damaged material.
Step 6: Keep the room clean without dry-sweeping. If debris has already fallen, damp-mop hard floors rather than sweeping. Bag the mop head and dispose of it as potentially contaminated material.
The conditions that increase fibre release most significantly are physical disturbance, water damage (which softens the binder holding fibres in place), and air movement across a damaged surface. Controlling those three factors buys you time safely while you arrange professional abatement.
Key takeaways
Asbestos in popcorn ceilings is a confirmed risk in any Canadian home built or renovated before the mid-1980s, and the only safe path forward is lab-confirmed testing before any disturbance, followed by licensed abatement when removal is needed.
| Point | Details |
|---|---|
| Test before any disturbance | Only bulk sampling by an accredited lab confirms asbestos; visual inspection is not reliable. |
| Age is a strong indicator | Pre-1978 ceilings are presumed ACM; the 1978–1986 window still warrants testing before any work. |
| Intact ceilings can wait | Undisturbed, non-friable asbestos can be managed in place with periodic inspection and no immediate removal. |
| Demand full documentation | Require sampling reports, worker training certificates, WSIB coverage, waste manifests, and a written clearance report from any contractor. |
| MSN Environmental | Provides licensed asbestos testing, abatement, disposal, and clearance testing across Ontario with full documentation. |
The case for doing this properly the first time
There is a pattern in asbestos work that comes up repeatedly: a homeowner does a quick scrape to “see what’s under there,” gets a result back from a lab, and then discovers the disturbance has already contaminated the room. Now the job costs three times what it would have, because remediation of a contaminated space is a different scope than a contained removal.
The 1% regulatory threshold is a legal definition, not a safety guarantee. Many experienced abatement teams treat any detectable asbestos as a hazard when planning containment and disposal, and that instinct is correct. The science on asbestos-related disease, including mesothelioma and asbestosis, is unambiguous about cumulative exposure being the driver. There is no documented “safe” single-event exposure level.
What I find most underestimated by homeowners is the documentation side. The clearance report and the waste manifest are not bureaucratic formalities. They are the proof that the job was done correctly, and they travel with the property. A buyer’s inspector who finds evidence of past asbestos work and no clearance documentation will flag it, and that flag can kill a sale or force a price reduction far larger than the original abatement cost.
Do the job once, do it with a licensed contractor, and keep every piece of paper.
MSN Environmental: licensed testing and abatement across Ontario
When lab results confirm asbestos in your ceiling, the next call should be to a contractor who handles the full scope: sampling, containment, removal, disposal, and independent clearance testing. That is exactly what MSN Environmental delivers across Ontario, including asbestos removal in Toronto, Kitchener, Hamilton, Waterloo, Cambridge, and surrounding communities.
Every MSN Environmental project includes trained technicians with current asbestos abatement certifications, WSIB coverage, full liability insurance, and written waste manifests confirming disposal at a licensed facility. There are no verbal assurances and no shortcuts on clearance testing. If you are weighing the reasons to hire certified professionals versus managing the process yourself, the documentation alone makes the case. Contact MSN Environmental for a quote or to arrange professional bulk sampling before your next renovation.
Useful sources and further reading
Health Canada, provincial Ministries of Labour, and accredited environmental laboratories are the authoritative sources for asbestos regulations and testing standards in Canada. Always confirm current provincial notification thresholds and licensing requirements directly with your provincial authority before any abatement work begins. Keep all lab reports, waste manifests, and clearance documents in your home file permanently.
Primary and technical resources used in this article:
-
Asbestos in the home (U.S. Consumer Product Safety Commission) — practical homeowner guidance on identifying and managing asbestos-containing materials.
-
How to properly remove spray-on popcorn ceilings (Southwest Clean Air Agency) — detailed safe removal procedures including wetting, HEPA controls, and disposal.
-
Asbestos popcorn and textured ceiling paint identification and removal (InspectApedia) — in-depth technical guidance on visual identification, painted ceilings, and encapsulation.
-
How to test for asbestos in popcorn ceilings (AsbestosHQ) — cost ranges, lab methods, and sampling guidance.
-
MSN Environmental testing and inspections — accredited bulk sampling, air testing, and designated substance surveys in Ontario.
-
Understanding asbestos testing and its importance (MSN Environmental) — deeper reading on lab processes and why testing matters before renovation.
This article provides general information for Canadian homeowners and is not a substitute for professional advice. Confirm current provincial regulations and requirements with your provincial Ministry of Labour or a qualified environmental consultant before undertaking any asbestos-related work.