

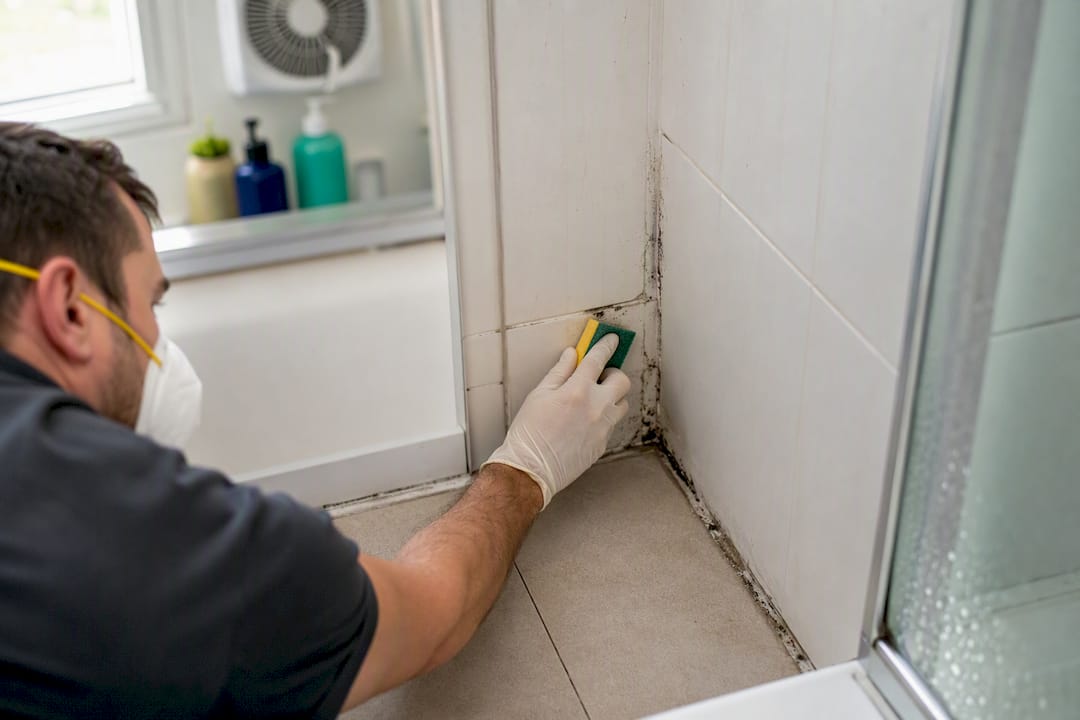
Small patches of black mould on bathroom tile or grout are usually a DIY job, provided you wear proper protection and ventilate the room. Anything bigger, or growth tied to a hidden leak, is a job for a certified remediator.
Your first move, before you touch a sponge: stop using the room, open a window or run the exhaust fan, and shut the door to the rest of the house. Then check the scope.
- Under 10 square feet, surface-only: clean it yourself with PPE.
- Over that, or on porous material: call a professional.
- PPE non-negotiables: N95 respirator, goggles without ventilation holes, and gloves that don’t let liquid through.
Pro Tip: People with asthma, very young or elderly individuals, or immunocompromised should seek professional assessment rather than DIY cleaning.
Key Takeaways
Small, surface-only bathroom mould is a safe DIY job with proper PPE, but recurring growth or areas over roughly 10 square feet call for certified remediation.
| Point | Details |
|---|---|
| Check the scope first | Measure the affected area; under 10 square feet on hard surfaces is generally DIY territory. |
| Wear real PPE | Use an N95 respirator, unvented goggles, and non-porous gloves before cleaning any mould. |
| Match cleaner to surface | Diluted bleach or hydrogen peroxide works on tile; embedded caulk should be cut out and replaced. |
| Fix the moisture, not just the stain | Run the exhaust fan during and after showers and keep humidity below 60 percent to stop recurrence. |
| Call MSN Environmental for the rest | MSN Environmental provides assessment, containment, HEPA filtration, and clearance testing when mould exceeds DIY scope. |
Table of Contents
- How to tell if it’s black mold in the bathroom
- PPE, health risks, and when to stop and call in a professional
- How to remove mould from tile, grout, caulk, and drywall
- How do you stop bathroom mould from coming back?
- Why a certified remediator handles bathroom mould differently
- What actually matters here, and what gets overhyped
- Get a certified assessment before mould becomes a bigger repair
- Sources
- FAQ
How to tell if it’s black mold in the bathroom
Colour is a terrible detector. Dark speckling on grout might be ordinary mildew, and what looks greenish under bad lighting can still be a serious growth. Species identification requires lab testing, not a glance, so treat any dark, fuzzy, or slimy patch as something to deal with rather than something to diagnose by eye.
What you’re actually checking for:
- Texture — surface mould wipes off tile fairly easily; growth that’s soaked into caulk, grout, or drywall paper feels spongy or leaves a stain behind after cleaning.
- Location — grout lines, the shower ceiling directly above the water source, caulk seams, and the trim under windowsills are the usual bathroom hotspots.
- Smell — a persistent musty odour with no visible spot often means growth behind a wall or under flooring.
- The halo test — a yellowish or brownish ring around a dark patch usually signals water intrusion, not just surface condensation.
- The touch test — press a gloved finger nearby. Damp, soft drywall or a spongy ceiling panel means moisture has already gotten past the surface.
Measure the affected area roughly before deciding your next step. That number matters more than the colour does.
PPE, health risks, and when to stop and call in a professional
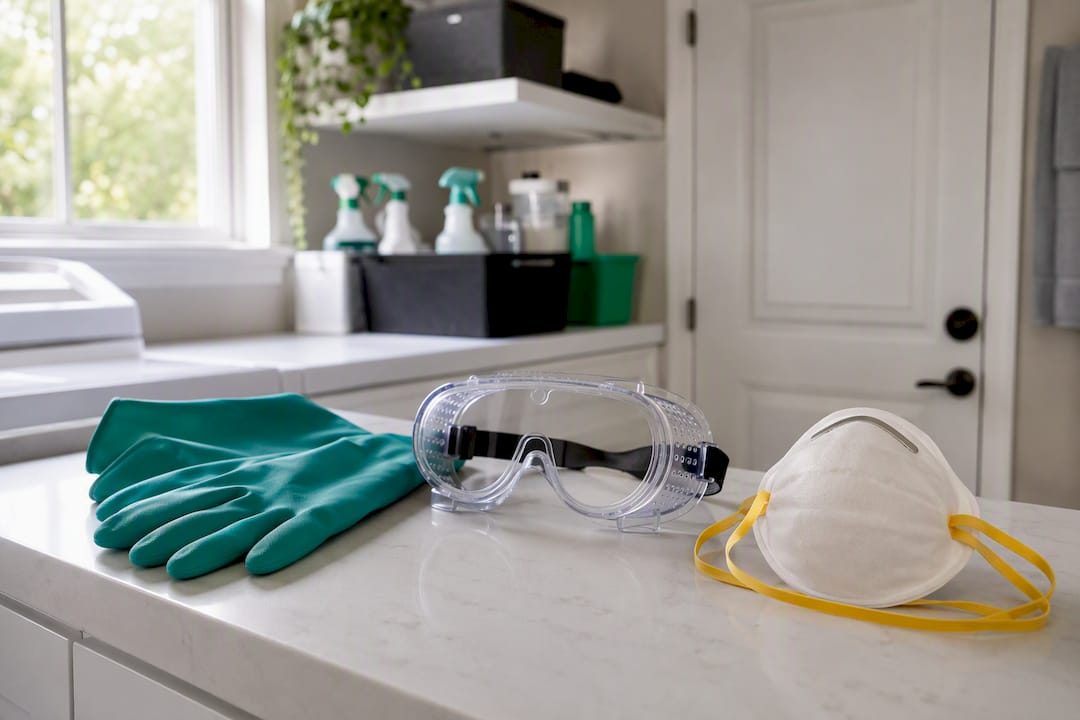
Homeowners tackling mould without protection are the number one mistake remediation crews see. At minimum, you need gloves, goggles without vents, and an N95 respirator before opening a cleaning bottle. Keep the door closed, run the exhaust fan or a window fan pointed outward, and never dry-sweep or sand a mouldy surface, since that scatters spores into the air you’re breathing.
Some people shouldn’t be in the room at all during cleanup: anyone with asthma or another respiratory condition, infants, older adults, and anyone immunocompromised. Symptoms in sensitive people can range from a scratchy throat and coughing to wheezing that doesn’t resolve until they leave the space.
A few signs mean it’s time to stop and hire a certified remediator instead of finishing the job yourself:
- The affected area is larger than roughly 10 square feet.
- Growth has soaked into drywall, insulation, or subfloor rather than sitting on a hard surface.
- Mould keeps coming back within weeks of cleaning.
- You can smell must but can’t find the source.
A certified remediator’s process typically includes a moisture and extent assessment, containment to stop spores spreading to the rest of the home, HEPA filtration during removal, and clearance testing once the work is done. That last step is the one most DIY jobs skip entirely, and it’s the difference between “it looks clean” and “it’s actually safe.”
How to remove mould from tile, grout, caulk, and drywall
Prep first, every time: ventilate the room, close the door, put on your PPE, and test any cleaner on a small hidden spot before going at the whole surface. Never mix cleaning products, especially bleach and ammonia. That combination produces toxic fumes.
- Tile and glass: Mix roughly one cup of bleach per gallon of water for non-porous surfaces, or use hydrogen peroxide if you want less fume exposure. Apply, let it sit 10 to 15 minutes, scrub with a stiff brush, rinse thoroughly, then dry the area completely with a towel or fan.
- Grout: Same solution works, but grout is porous, so expect to repeat the treatment. If staining persists after two attempts, the mould has likely penetrated past the surface and regrouting is the real fix.
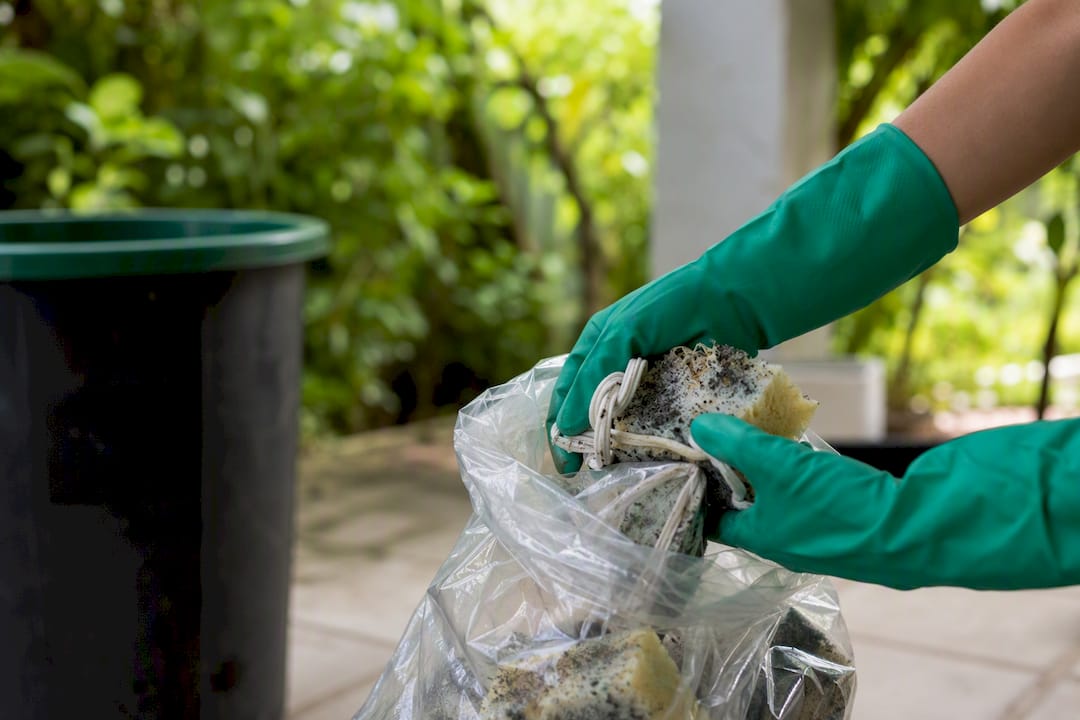
- Caulk and sealant: Don’t try to clean embedded mould out of caulk. Cut it out with a utility knife, bag the old caulk in a sealed plastic bag for disposal, and re-caulk with a mould-resistant silicone product once the area is dry.
- Painted drywall: Only attempt this if the board is dry and structurally sound. Wipe gently with a peroxide-based cleaner rather than saturating the surface, since soaked drywall paper feeds the exact problem you’re trying to solve. If the panel feels soft or the stain reappears fast, it needs to be cut out and replaced rather than cleaned. For guidance on that decision, see how professionals assess drywall mould.
Pro Tip: For porous surfaces like grout and unglazed tile, a botanical or peroxide-based cleaner often works better long-term than bleach, which can bleach the surface without fully killing mould rooted below it.
Whatever you use, bag contaminated sponges, rags, and cut-out caulk before they go in the trash. Don’t leave them sitting damp in an open bin.
How do you stop bathroom mould from coming back?
Cleaning mould off a surface solves maybe 10 percent of the actual problem. The other 90 percent is fixing whatever keeps the room damp in the first place, and skipping that step is why so many homeowners find themselves scrubbing the same ceiling patch every few months.
- Running the bathroom exhaust fan during and after showers helps control moisture. If you’re not sure it’s strong enough, hold a tissue near the grille; if it doesn’t cling, the fan is too weak or poorly vented and needs an upgrade sized to the room’s square footage.
- Confirm the fan vents outdoors, not into the attic. That single wiring mistake causes a huge share of recurring ceiling mould.
- Keep indoor relative humidity below 60 percent; a small dehumidifier on a timer helps in bathrooms with poor airflow.
- Fix leaks around the tub, toilet base, and supply lines as soon as you spot them, and check attic insulation if the ceiling feels cold, since a cold ceiling invites condensation.
- Replace caulk annually and wipe soap film off ceilings and walls before it becomes a food source for spores.
Why a certified remediator handles bathroom mould differently
A homeowner with bleach and a scrub brush can clean what they can see. What they usually can’t do is confirm what’s happening inside the wall, and that’s the gap certified remediation closes.
MSN Environmental’s process for a bathroom mould call typically includes:
- A moisture and extent assessment, including checking whether growth has spread into wall cavities.
- Containment set up before any removal starts, so spores don’t travel through the rest of the home.
- HEPA-filtered air scrubbing during abatement and removal of unsalvageable materials.
- Clearance testing once the work wraps, so you get confirmation rather than a guess.
- Compliance with Ontario abatement standards throughout, which matters if you’re selling the property or dealing with insurance later.
Most assessments take under an hour; a contained bathroom job often wraps within a few days depending on how far the moisture travelled. You can review the full certified removal workflow before booking.
What actually matters here, and what gets overhyped
Most bathroom mould advice online obsesses over which cleaner kills mould “best,” as if the right bottle of bleach is the whole answer. It isn’t. The cleaner matters far less than whether you’ve actually stopped the moisture that grew the mould in the first place. A homeowner who scrubs a ceiling spotless every three months without ever checking their fan’s venting or their humidity levels is fighting the same battle on repeat, and the article’s own evidence backs that: fixing the source does most of the work, cleaning does the rest.
The other place conventional advice falls short is the colour obsession. Endless articles fixate on identifying “the black mould” as if species matters more than exposure and extent. It rarely changes what you should do next. What should change your plan is scale and location: a coin-sized grout spot is a Saturday chore, a ceiling that keeps staining after every shower is a moisture investigation waiting to happen, and drywall that stays soft after drying is past the point where a sponge helps. Prioritize the moisture fix first, the cleaning second, and get a professional read the moment either surface or symptoms tell you this is bigger than surface deep.
— Moacyr
Get a certified assessment before mould becomes a bigger repair
If the patch on your ceiling keeps coming back, or you’re staring at drywall that’s gone soft behind the paint, that’s past the point where another bottle of bleach helps.

MSN Environmental sends certified technicians who assess the actual moisture source, not just the visible stain, and remediate under Ontario compliance standards with containment and HEPA filtration built into the process. That’s the real difference from a DIY attempt: you get clearance testing at the end that confirms the air and surfaces are actually safe, not just visibly clean. If you’re dealing with recurring growth, a bathroom over the 10 square foot threshold, or mould that’s reached drywall or subfloor, request a mould assessment and get a plan built around your specific bathroom rather than a generic checklist.
Sources
- Bobvila
- Black mold bathroom ceiling guide | Inspect & Test
- How to prevent mold in the bathroom | RealSimple
- Mycotoxins | World Health Organization
This article is general information, not a substitute for advice from a qualified doctor. Consult a qualified healthcare professional about your own circumstances before acting on anything here.
FAQ
Is black mould in the bathroom toxic?
Toxicity depends on the species and how much you’re exposed to, not the colour. Some moulds produce mycotoxins that can cause respiratory irritation, and anyone with existing symptoms should see a physician rather than self-diagnose.
What should I do if I find black mould in my bathroom?
Stop using the room, ventilate it, put on PPE, and measure the affected area. If it’s under 10 square feet and on a hard surface, clean it yourself; if it’s larger or recurring, book a professional assessment.
What are warning signs of mould-related illness?
Common symptoms include a persistent cough, throat irritation, headaches, itchy or watery eyes, skin irritation, and worsened asthma symptoms. Symptoms that improve when you leave the home and return when you’re back are a strong clue mould exposure is the cause.
Can bathroom ceiling mould mean a hidden leak?
Yes. A yellow or brown halo around a dark patch, mould that returns within weeks of cleaning, or a musty smell with no visible source usually points to a hidden moisture pathway that needs investigation before cleaning will hold.